READ BEFORE USE:
- Read the entire product manual before use.
- WIMBA products are medical devices available only from authorized partners.
- The cervical collar is a brace intended to give support, it is not a treatment.
- The cervical collar is one of the elements of an individual treatment plan - follow the recommendations of the veterinarian or physiotherapist ordering the use of the cervical collar in terms of time, frequency and method of use.
- The application of the collar is at the owner's risk, recommendations vary depending on the underlying disease.
- Atlanto-axial instability, or any cervical fracture or instability has the potential to be lethal to the animal, even if a collar is worn.
- We do not recommend using the orthosis on affected skin.
- Prolonged exposure to very low and high temperatures, washing in a washing machine, drying with a dryer, modifying or interfering in any way with the structural integrity of the orthosis is prohibited.
- The dog is a living animal. The process of getting used to wearing medical supplies may be different for each dog.
- If you have any doubts about the use of the product or if the device is damaged, please contact your seller.
- The full terms of the warranty are described in the warranty card included with the product.
Content of the Box
- Assembled collar with inserts
- 1 x WIMBA Vet Wrap
NOTE: WIMBA Cervical Collar Go Orthoses are available in 3 sizes: XXS, XS, S. XXS and S versions are equipped with WLock. S version has FIdlock.
The vet wrap included in the box is designed for initial donning to prevent scratches, dirt accumulation, and other potential damage.
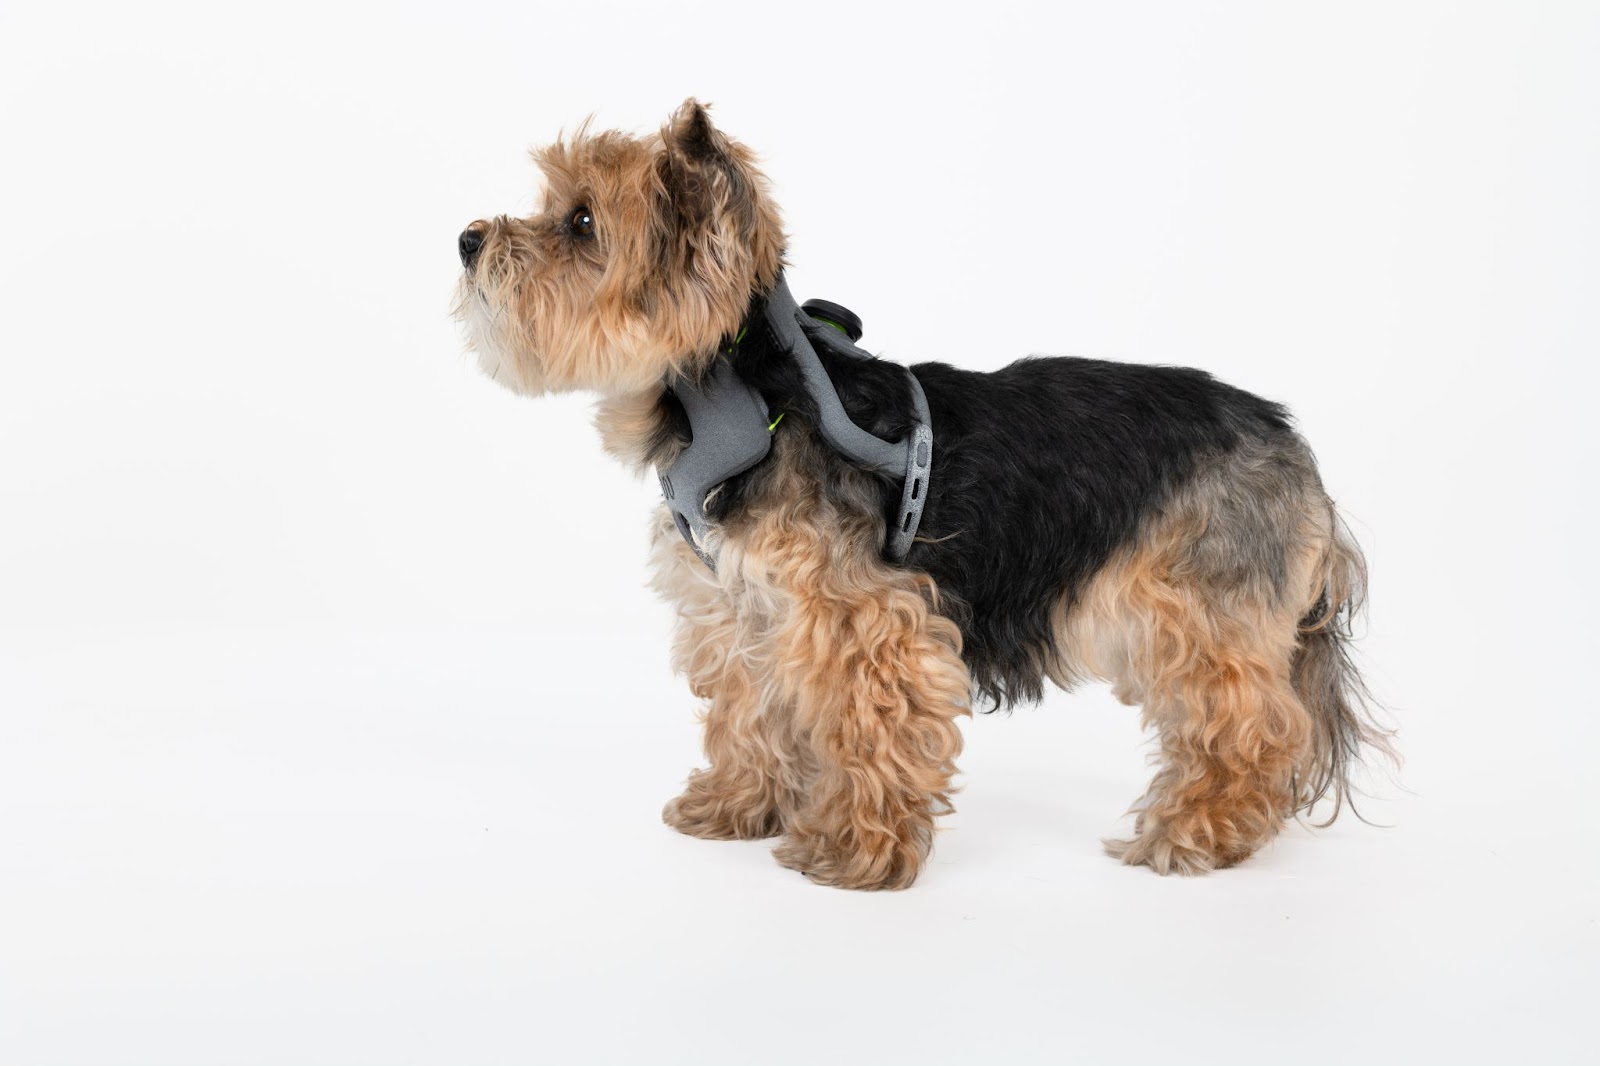
Description of the Collar Components

WIMBA Cervical Collar Go consists of:
main structure divided in two separate parts top (1) and bottom (2),
and insert - spacer cushion (3),
Cord Lock (Fidlock or Wlock) (4),
snap- fit fasteners (5),
cord (6),
magnetic side lock (7).
Fasteners
The WIMBA Cervical Collar Go is equipped with three fasteners, all of which allow for easy placement on the animal and ensure a better overall fit.
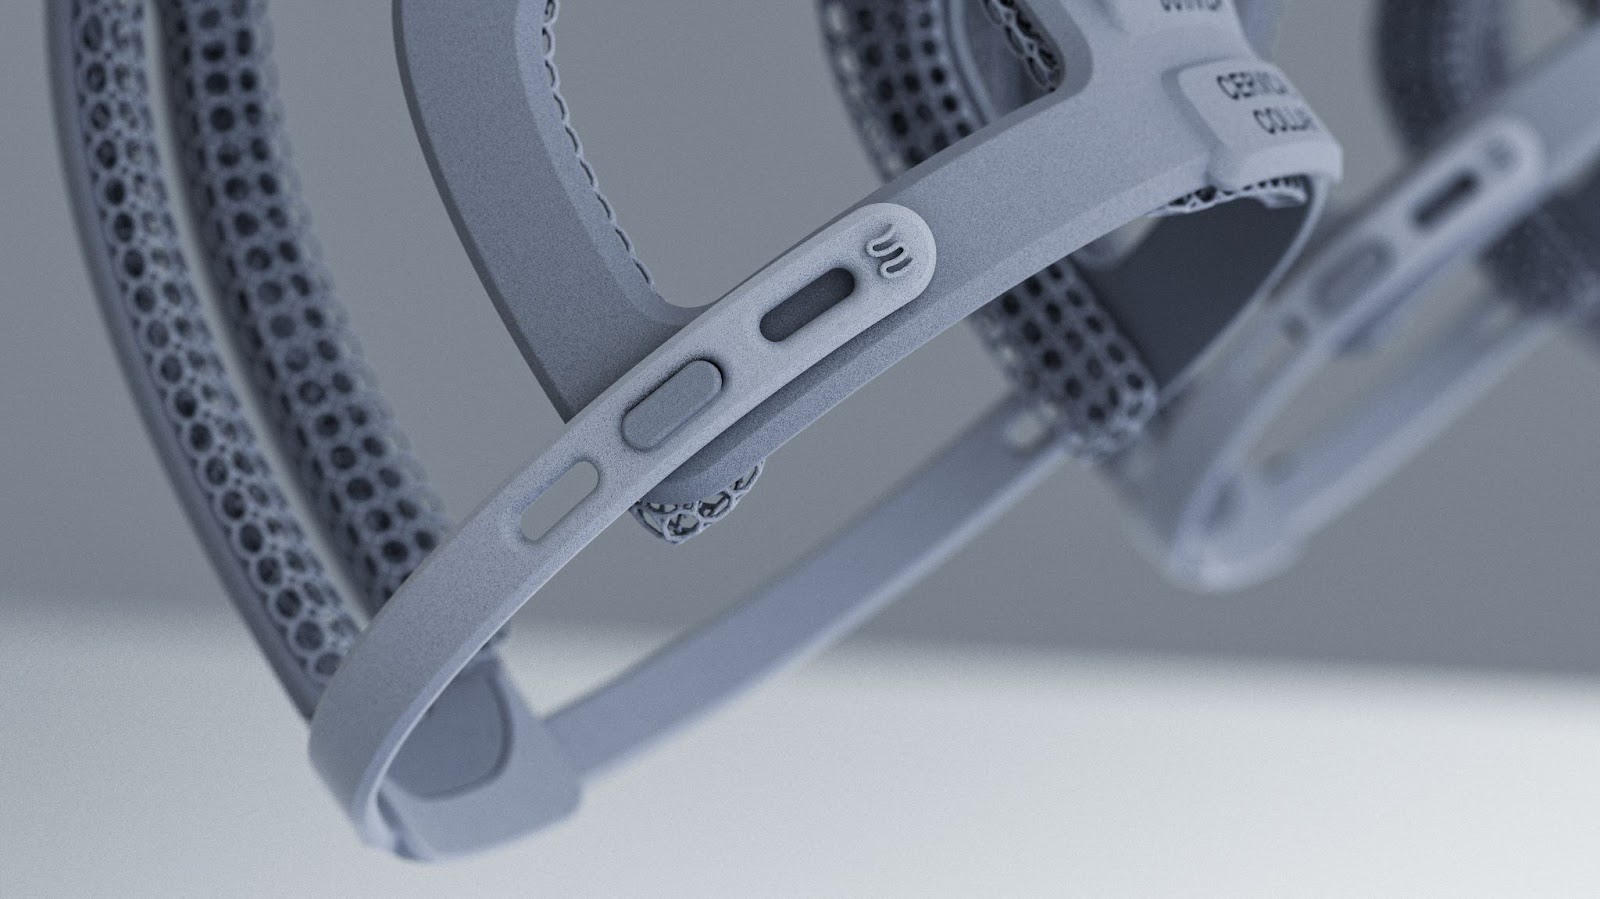
- A Cord Lock (Fidlock fastener or Wlock fastener in sizes XXS and XS) is located on the top part of the main structure, allowing the collar to be adjusted around the neck.
- A Magnetic side lock enables easy unfastening of the collar without needing to readjust the cord length each time.
- Snap-fits allow the device to open and adjust the chest circumference.
Inserts
The whole product is complemented by sponge-like spacer cushions - inserts. These allow the collar to be placed securely and comfortably on the animal.
Donning of the Collar
Watch this video and follow the instruction to learn about correct donning of the collar:
First use
Step 1 – Wrapping the Patient
Before placing the collar on your patient for the first time, wrap the dog with vet wrap to protect the skin and fur.
The collar is being treated as unused if the device had no contact with the skin and fur of your patient and has any signs of being used (i.ex. dirt, scratches, dog hair).
Step 2 – Unfastening the Collar
Unfasten the snap-fit fasteners and the cord lock. Fully extend the cord by pulling the top and bottom collar elements apart.
- Fidlock: Pull back the knob until you release the knob then pull the elements of the main structure (top and bottom) to extend the cord. Put the knob back in its original position.
- Wlock (XXS/XS sizes): Pull back the knob until you hear a click, then pull the elements of the main structure (top and bottom) to extend the cord.
Decide whether to slide the collar over the dog's head, or open the magnetic side lock for easier application.
Step 3 – Positioning the Collar
Place the upper part (with Fidlock or Wlock) on the dog's back. Position the lower part under the mandible, neck, and chest, between the thoracic limbs.
If opened, reconnect the magnetic side lock. Ensure both parts of the collar are symmetrically aligned.
Step 4 – Fastening the Collar
Snap-fit fasteners should be secured behind the scapula/thoracic limbs. Push the pins into the holes firmly but evenly on both sides.
Tighten the cord:
- Fidlock: Twist the knob to the right until the collar fits snugly.
- Wlock: Push the knob until you hear a click, and then twist it to the right until the collar is properly adjusted.
Ensure the neck circumference provides the intended stabilization.
Step 5 – Final Fit Check
A properly fitted collar should:
Remain in place during movement without shifting or rotating.
Be snug but not overly tight—it must not impair breathing.
Subsequent uses
Step 1 – Preparing the Skin
Make sure the dog's skin is clean and dry before reapplying the collar.
Step 2 – Opening the Collar
Unfasten the magnetic side lock (you do not need to adjust the cord again if the fit is correct). Leave the cord length as it was, unless adjustments are needed. Then unfasten the snap fits.
Step 3 – Positioning the Collar
Place the upper part on the back, the lower part under the neck and chest.
Step 4 – Fastening the Collar
Refasten the snap-fit fasteners behind the front limbs evenly. Reconnect the magnetic lock.
Confirm that the collar remains symmetrical and evenly positioned. Refasten snap-fit fasteners if needed.
Step 5 – Fit Confirmation
Check that the collar:
Does not twist or slide during movement.
Remains secure but comfortable, without interfering with breathing.
Note!
It is important to monitor your animal at all times to ensure these principles are followed while wearing the brace.
VERY IMPORTANT
If swelling or skin damage appears contact your veterinarian immiadetely for better fitting tips.
Recommended Use and Application
- WIMBA Cervical Collar Go is a medical device and should be used solely at the discretion of a veterinarian or physiotherapist.
- When the collar acts as a brace it should ideally be worn at all times. The dog may need help to lay down and stand. Exercise in case of neck fracture, AAI or instability should not be allowed.
- When the cervical collar is used to prevent neck flexion while awaiting surgery or attempting conservative therapy, play (with toys or other dogs) should be restricted due to the high risk of neck injury. The cervical collar does not treat the underlying disease, and the risk of severe injury or even death cannot be fully prevented.
VERY IMPORTANT
The veterinarian or physiotherapist should guide the animal throughout the entire course of treatment period. It is recommended that wearing schedules ONLY be modified by the veterinarian or therapist to meet therapeutic goals.
VERY IMPORTANT
DO NOT use a collar or anything that can put pressure on the neck and only use a well-fitting harness with a buckle on the back.
Do’s and Don'ts of Your WIMBA Cervical Collar:
Usage:
- To ensure optimal functionality of the product, it is recommended to use it within a temperature range of 0°C to 40°C (32°F to 104°F). Prolonged exposure to temperatures outside this range may affect the product's performance.
- Do not heat or modify the collar in any way that could alter the structural integrity of the orthosis.
- Do not use the collar on abrasions or other skin injuries without consulting with your WIMBA provider.
- Do not allow your pet to bite the collar.
Cleaning and maintaining the orthosis:
- Clean the collar after contact with salt water, chlorine, sand, soil, mud, grass, leaves, snow etc.
- Hand-clean the collar with lukewarm water and mild soap.
- For larger stains, use a sponge or soft cloths to clean.
- Do not wash the collar in a washing machine or use a hair dryer to dry the collar.
- Allow the collar to air dry. When drying, remove any excess water from the collar to avoid the growth of bacteria and fungi.
Storage:
- When not in use, store the collar symmetrically fastened (the same number of hooks on the right and left sides).
- Do not place anything on the collar that may cause strain.
- Do not leave the collar in direct sunlight or in any location where it will be exposed to unpredictable weather conditions.
- Do not store the collar in a location animals or children can obtain.